Dou you believe in fairies? A sweet fairy painted in stone
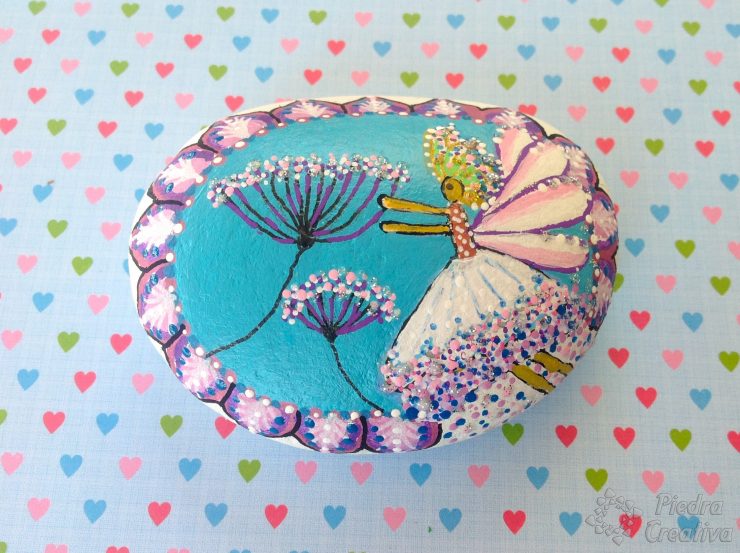
This sweet DIY transports us to our childhood in which magic and fairies made us dream.
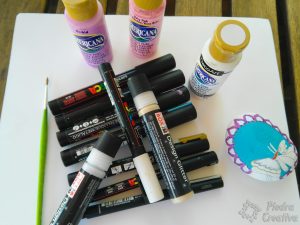
To do this DIY, we have used the following materials:
- Stone
- Brushes
- Pencil and rubber
- Awl
- Acrylic paints pink, purple, white and blue.
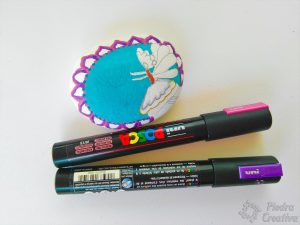
- Special colored and fine black markers
- Glitter glue
- Varnish
How to paint a fairy in Stone?
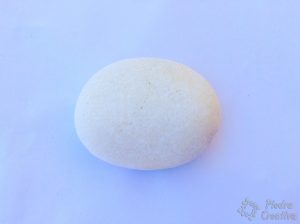
Make sure the stone is perfectly clean. Wash it with a brush, water and soap.
If the stone is dark I recommend you paint it in white.
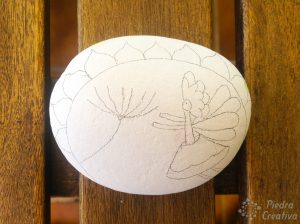
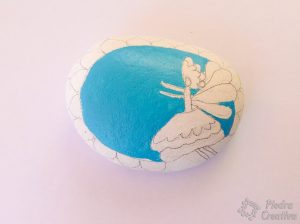
Draw with pencil
You can do a drawing with a soft pencil so it does not get too marked. If you prefer, you can paint the background blue and then paint the drawing over (once the paint is dry). Here in Pinterest we show you a few more fairies in case you feel inspired.
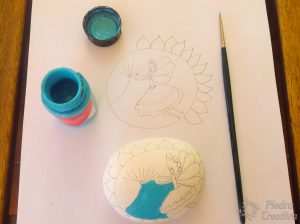
You can paint with acrylic paint and markers
I use both and I combine them depending on the area to be painted. For the small parts that I want to profil I use the markers, however, when I want to highlight for you to see more, I use acrylic paint. Here you can see more tips on how to paint stones
Use a punch or toothpicks
To make the dots I have used a punch and markers. You can use what you prefer.
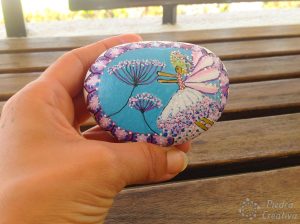
Apply the sheen of magic powders
Glitter loves children. Apply a little of this magical product and decorate with dots creating some personal details in this DIY. It looks great!
If you want to see another DIY with the same effect, I leave a link of a soft feather in stone.
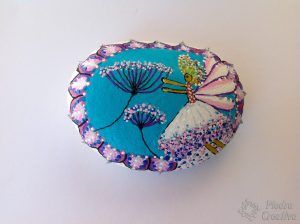
Protect with varnish
Apply a couple of layers of varnish and protect this pretty DIY.
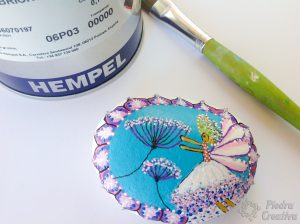
We hope to have left some fairy dust in your day to day and that magic always accompanies you 😉
A huge kiss and enjoy painting with PiedraCreativa
[yasr_visitor_votes size="large"]




Añade tus comentarios