Stones painted with fluorescent paint
Today we want to show a quick, easy and eye-catching DIY made with fluorescent paint. These kinds of decorative items are very attractive and we hope they will inspire you for your handicrafts.
First of all, we comment the difference between fluorescent and phosphorescent paint. The fluorescent paint emits light only while is illuminated, whereas the phosphorescent paint emits light when is illuminated and then (with the absorbed energy of ultraviolet radiation).
A brightly lit Halloween
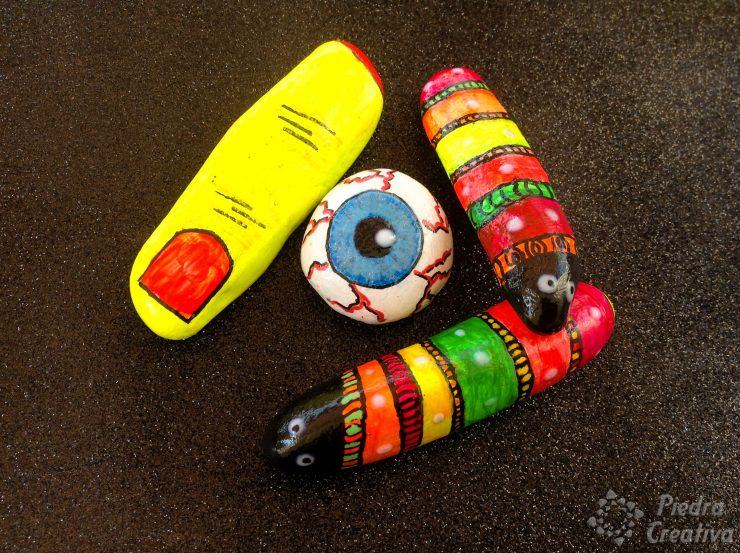
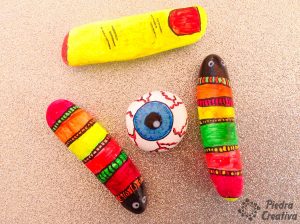
Let’s get to work, so we have taken a somewhat sinister environment … worms, and parts of the monstrous body!

Materials
- Eyes
- Fingers
- Worms
Spooky! … so… maybe also these:
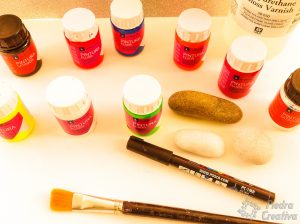
- Stones
- Acrylic paints (fluorescent and normal)
- Brushes
- Acrylic markers (black and red)
- Varnish
Steps to make the DIY
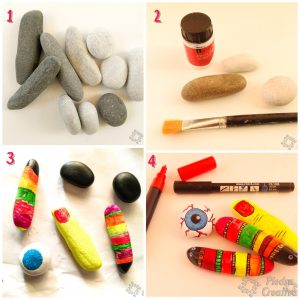
- Clean rocks to remove all dirt.
- Paint the background of stones with white acrylic paint. Thus the rocks shines better later.
- Use long stones for worms and fingers.
- Use rounder stones to create monstrous eyes.
- Paint each piece with color.
- Profile and delimit each color.
- Paint small details (such as small eyes, nail and worms).
- Protects each element created with acrylic varnish.
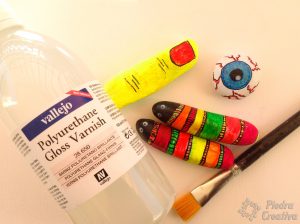
… and decorate your scary house …
Important: If you want Halloween night even more amazing, you can use black light to illuminate your creations fluorescent. It is very easy and can do yourself. This week we show you how make homemade way. If you do not want miss it, subscribe to our exclusive content in newsletter and we will let you know in your email.

Remember that you can also make monsters that you can find in the kids section of kids section, or other fantastic ideas that we have seen in Pinterest.
[yasr_visitor_votes size="large"]Have fun painting and scaring with PiedraCreativa






Añade tus comentarios