How to paint stones with children?
As we know, when we want to do some activity with the kids, we must have everything prepared before we start because they do not want to wait. So, without further delay, we show you the 10 best tips and … enjoy the adventure!
Before starting to paint stones, protect the surface where you are going to paint and put on old clothes.
…and Let’s go!
1. Search and choose stones in rivers, lakes or beaches.
Choose smooth stones, uniform or with some interesting shape. It is very important to respect and not take stones from protected areas or parks where the ecosystem can be altered.
2. Wash the stones
Clean with a brush and soap to remove dirt. In this way, the paint will grip better.
3. Choose a design
Once you have your stone washed, choose the design you are going to Paint.
You can find many ideas in Pinterest. We recommend you start with something simple like monsters, an emoticon, etc. You can also find easy ideas in our section of children’s crafts.
4. You will need acrylic (and non-toxic) paints or markers for crafts
Brands like La Pajarita are highly recommended for children since they are not toxic.
5. Paint a first white background and always use little Paint.
If you are going to paint on a dark stone, paint it first with a White background. In this way, the color you paint with will have greater luminosity and you will avoid having to give many layers of paint to have a nice color.
Paint with little paint. Children tend to take a lot of paint, but that is not advisable. Use only the tip of the brush without loading too much paint, it is better to paint with little paint than to leave a lot of paint, it will also dry faster, you know that kids do not like that to wait.
6.- Paint the background color
Apply 2 coats of paint and respect the drying time between each layer.
If the children become impatient, use a dryer to accelerate the drying process
7.- When you finish painting, clean the brushes with soap and water
Dry the brush well if you are going to continue painting. Never leave them in the water because, if you do, the tip will be damaged.
Keep in mind that (to keep them) you have to place the brushes or face up or upright.
8.- Draw the sketch with a soft pencil.
Use a soft pencil so that you do not mark the drawing too much before making the details.
9.- To make small details, use different sizes of markers.
When the paint is dry, make the details with markers. These should be for all types of surfaces. The kids love to paint with them.
10.- Protect your work with acrylic varnish
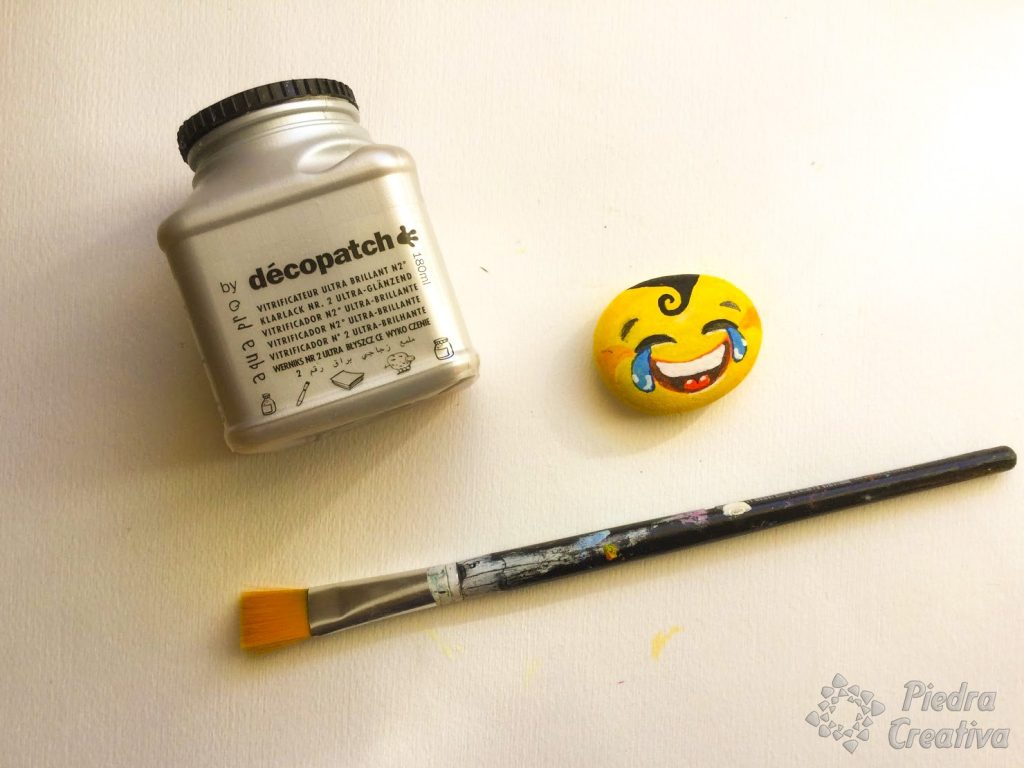
To finish (and that the kids can apply the varnish themselves), my advice is that you use a varnish that is not toxic. In the special article we make with varnish types, you will find the most recommended on the market to use.
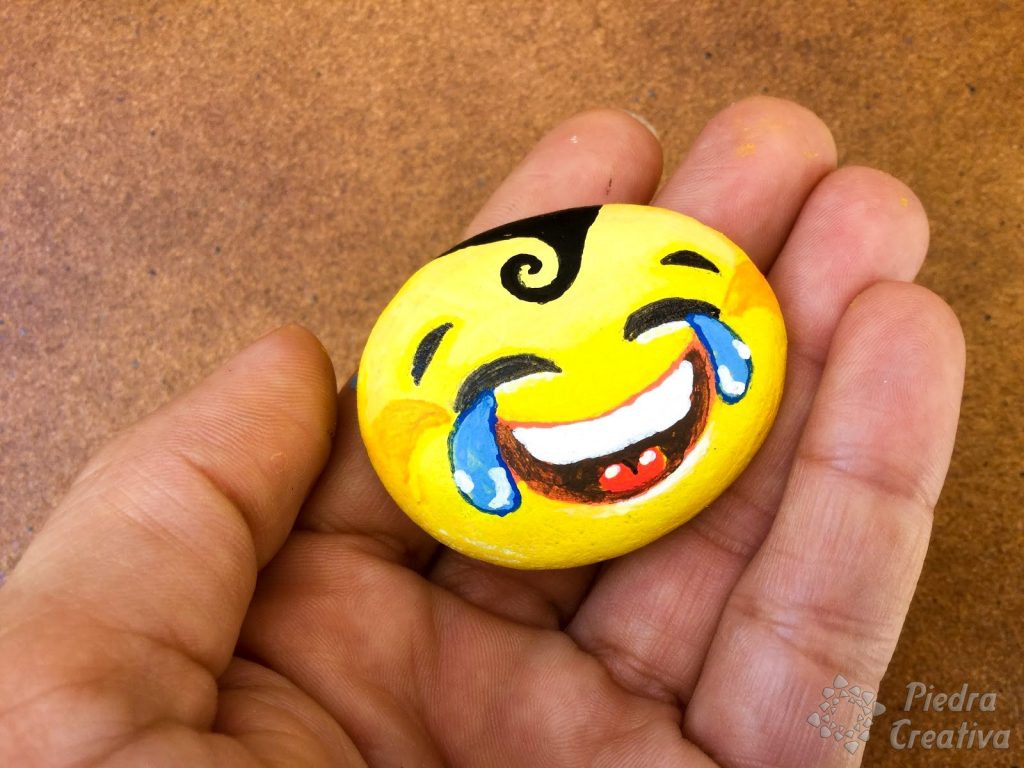
This is the final result!
This is our emoticon. We have given it our personal touch and we have placed it in the fridge with a powerful magnet, What do you think about it?
This is all for today, we hope we have helped you and that you make fantastic creations together with the kids.
[yasr_visitor_votes size="large"]A huge kiss and enjoy with PiedraCreativa




Añade tus comentarios