Painting stones with nail polish
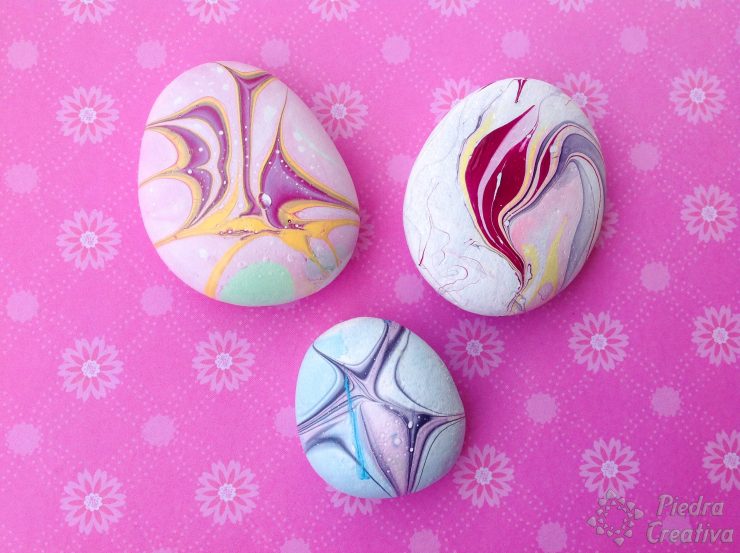
Today we show you a new way to decorate and paint stones. This DIY is simple but requires a speed and agility to do it.
You will only need to try and enjoy painting stones with nail polish. The result is worth it.
We also show our video with the step by step so that you know as we have done:
How to create stones in an abstract way?
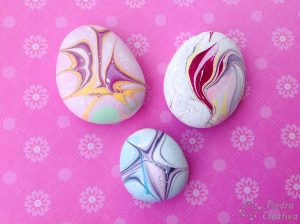
Here are the materials we will need:
- Stones
- Plastic or paper to cover the table
- White acrylic Paint
- Brush
- 5 or 6 different colors of nail polish
- Container with cold wáter
- Toothpicks
- Varnish
- Removes glaze
- Cotton
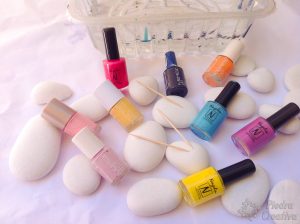
Steps to do the DIY
1. Before you start painting stones
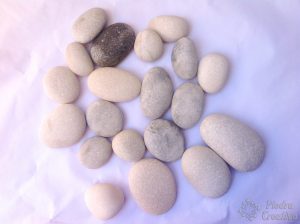
First of all, the first thing is to wash the stones to remove the dirt and get better grip on the Paint.
2. Apply two layers of acrylic white paint
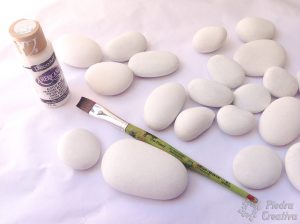
Once the stones are clean and dry, start by painting all the acrylic white paint stones. Apply a pair of hands to cover well, this way, when we apply the nail polish, we will have a brighter result.
An important point is to let dry very well between each layer so that white paint will not be damaged.
3. How to apply the technique of nail polish
When you have the stones already dry and painted white pick up a container deep enough to submerge the stones and fill it with cold wáter.
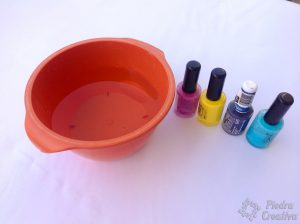
Step 1
Add a little of each color of nail polish.
Start with a drop and you will see that the first one will expand. Quickly adds the rest because the enamel dries very fast and creates a layer that does not work.
2nd step
Once you have all the colors, mix them with a stick from end to end, or from the center out (depends on your imagination and the drawing you want to make). Make few movements and create a simple drawing.
3rd step
Quickly pick up the stone you want to paint. Keep in mind the side you want to be marked, because you must submerge the stone upside down so that the painted and decorated part is face up. Once done place it on top of a paper or plastic so as not to spoil the stone or stain the Surface.
4th step
When it has dried, apply a pair of acrylic varnish hands or some Mod Podge Decoupage glue.
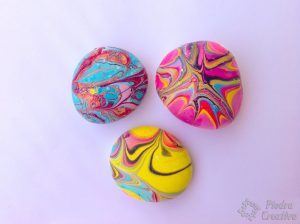
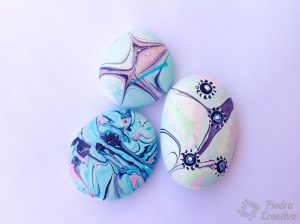
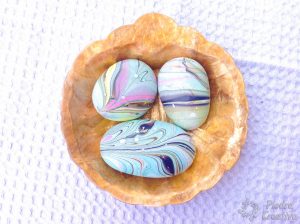
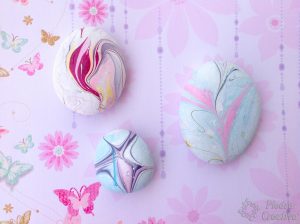
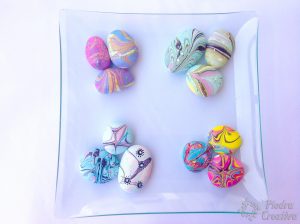
We hope you have enjoyed these nail polish painted stone crafts and enjoy them a lot ♥♥♥.
We show you other crafts that are easy to do with children, such as our monsters and some tips on the art of painting stones.
Any questions you can leave in the comments, we will try to solve it as soon as posible.
Enjoy with PiedraCreativa
[yasr_visitor_votes size="large"]




I’ve been asked as I use nail polish to decorate my stones are they able to be put outside without having to varnish them? X
Your stones will be less damaged and will look brighter if you use varnish on them.
Thanks a lot!