Pigs in painting rocks
On this occasion we have created some nice pigs with stones.
These are the materials you need to create cute pigs.
Materials
- Stones
- Brushes
- Punches or sticks
- Pencil and rubber
- Acrylic paints pink, purple, black and white
- Markers for painting black, white, green and yellow stones.
- Glitter glue
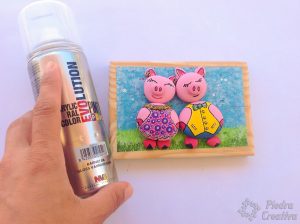
- Acrylic varnish
Step by step to make the little pigs painted in stone
To start creating this DIY the first thing to do is …
Wash the stones
Clean the stones well before painting so that the paint is better fixed.
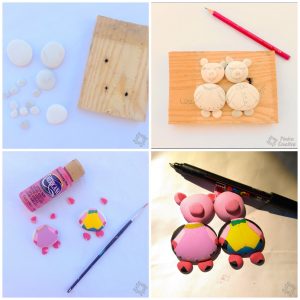
Draw with pencil
If you want to see before painting how the piglets would be drawn, draw very softly with a soft pencil.
Once you have done the drawing, erase it with the pencil. If you paint with the acrylic paint on top of the pencil drawing it can stain.
Paint with acrylic paint or markers
We have used both, especially acrylic paint. Apply a pair of paint hands to cover well and remember to let dry between each layer, but for children is easier to do markers, because they control them better.
Profiles with black marker
When the paint has dried, review with a black marker to mark the outline.
Your personal touch on the details
With the punches or markers make details on the clothes that will make your pigs exclusive.
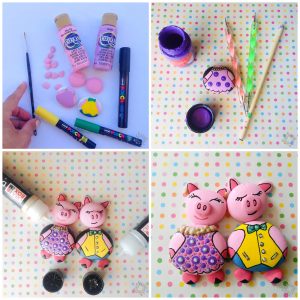
Party shine with glitter
Creates details of party and distinction, jewelry, buttons, sequins, etc. With glitter glue.
Although not necessary, if you want, you can put or create a frame with a piece of wood. We indicate both options below:
1st Option: Create the frame with a piece of wood
You need these materials:
- A piece of wood
- Lija
- Acrylic paints green, turquoise, white and pink
- Adhesive or body tape
- 2 brushes (1 fan-shaped)
- Varnish
- 2 closed steel sockets
- Rope
Steps to paint the wood
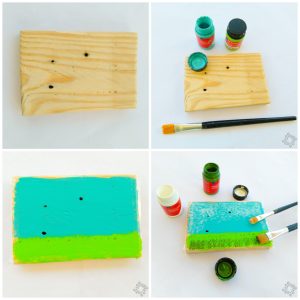
- Sand the wood very well: we have done it with a sander. If you have the possibility to work with one, you will see that the work gets finer and better finished. If you also can not use sandpaper.
- Clean the wood with a rag once you have finished sanding it.
- Glue tape around the wood to delimit the frame and do not stain with the paint.
- Paints with acrylic paint turquoise and light green.
- Once the paint dries, to make the sky, apply the white paint by tapping with the brush (only with the tip of the brush vertically discharging the excess before). Do not put too much paint, you must move the brush to make different strokes of drawing on the area of the sky.
- For the bottom of green do the same, but with a flat brush and with dark green paint, imitating the lawn. To finish and give light, clear the green with white and do the same technique more smoothly and less times.
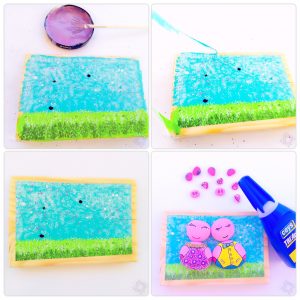
- In the following video you can see how to do the wood paint splatter of the painted stone piglets.
- I have mixed blue and pink to create purple. I also put some white paint splashed before, with the same technique.
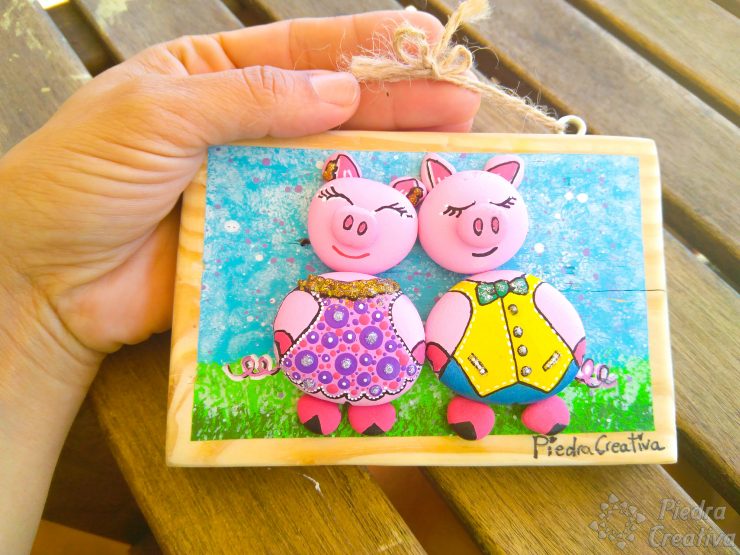
- Once it has dried, glue the painted stones of the piglets on the wood.
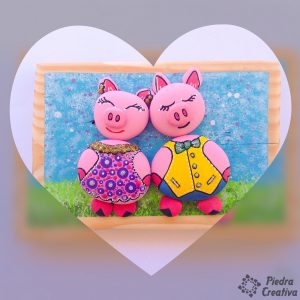
- It protects with varnish your work: Now it is only necessary to apply two layers of acrylic varnish, and already you have your precious picture with some very loving piglets.
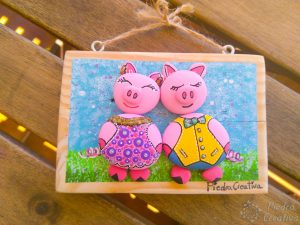
- Hang the picture: the last step to complete this painting is, put some steel sockets and tie the rope to be able to hang it.
- This is the result in the child’s bedroom:
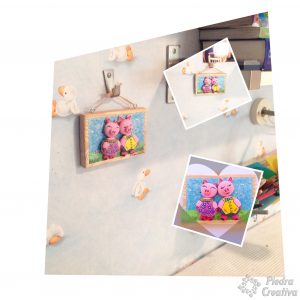
2nd Option: Frame
The materials you will need are:
- Frame with depth
- Sheet or cardboard
- Pencil
- Scissors
- Flexible glue
Step by step frame
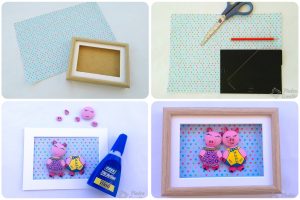
- Remove the frame and, using the base, draw with the pencil the sheet or card, and then cut it.
- Glue the already painted and painted stones of the piglets on the sheet with great care not to stain.
- Finish putting the frame back in and go!
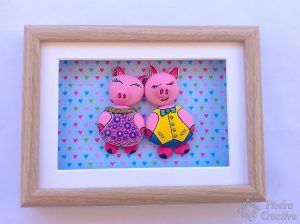
We hope you have enjoyed this DIY made with love and enjoyment.
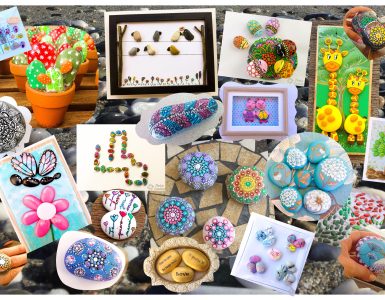
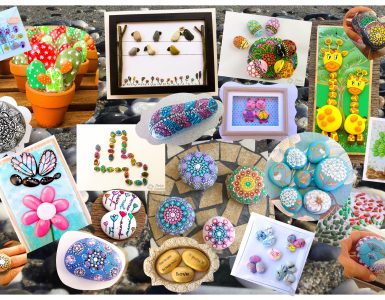
If you like animals, here you can also find other crafts in painted stones of various animals such as the powerful turtle painted in stones or the magic giraffe.
If you have doubts or liked it, you can comment it in the comments section.
Thank you so much for sharing! To share is to live.
[yasr_visitor_votes size="large"]A huge kiss and … enjoy creating with PiedraCreativa



Añade tus comentarios