How to make decorative pictures by recycling?
Are you tired of seeing your house always the same? Do you think of painting a little stones and performing this fantastic DIY with decorative pictures with stones?
All right, let’s go there!
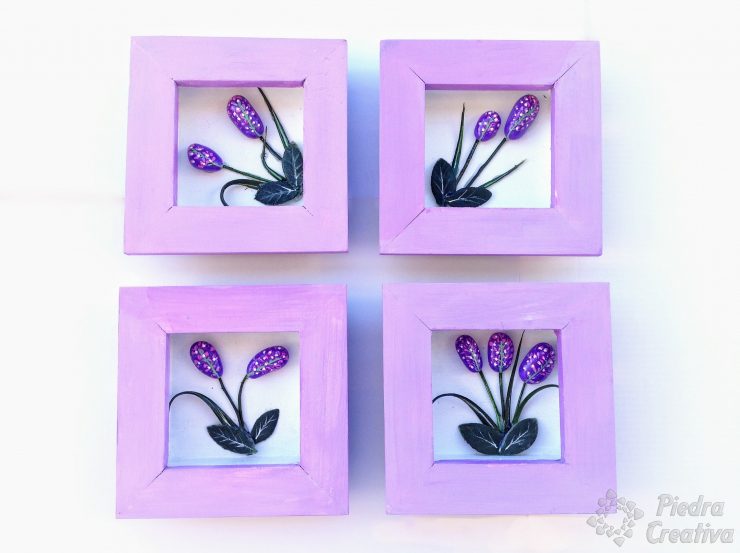
Change the color of frames. With this fabulous idea and using painted stones, it will be like have a new one.
We love it! 😉 ♥♥♥
This DIY is an opportunity to renew the decoration of our home, with decorative pictures with stones.
As you can see, if you have frames like these, you do not need much to decorate them, and they are very beautiful.
It is very simple DIY, in addition, it takes very little time to perform. Are you ready?
What materials to use for pictures decorated with stones?
- Small white stones.
- Brushes
- Container with water
- Paper
- Acrylic paint for crafts: green, white, purple, pink and black
- Markers (purple and green) for details (special for stone)
- Frames for recycling
- Scissors
- Leaves of artificial plants.
- Hot glue gun and glue bars.
- Acrylic varnish (to protect our DIY)
How to make decorative pictures with stones?
Here are the steps to follow:
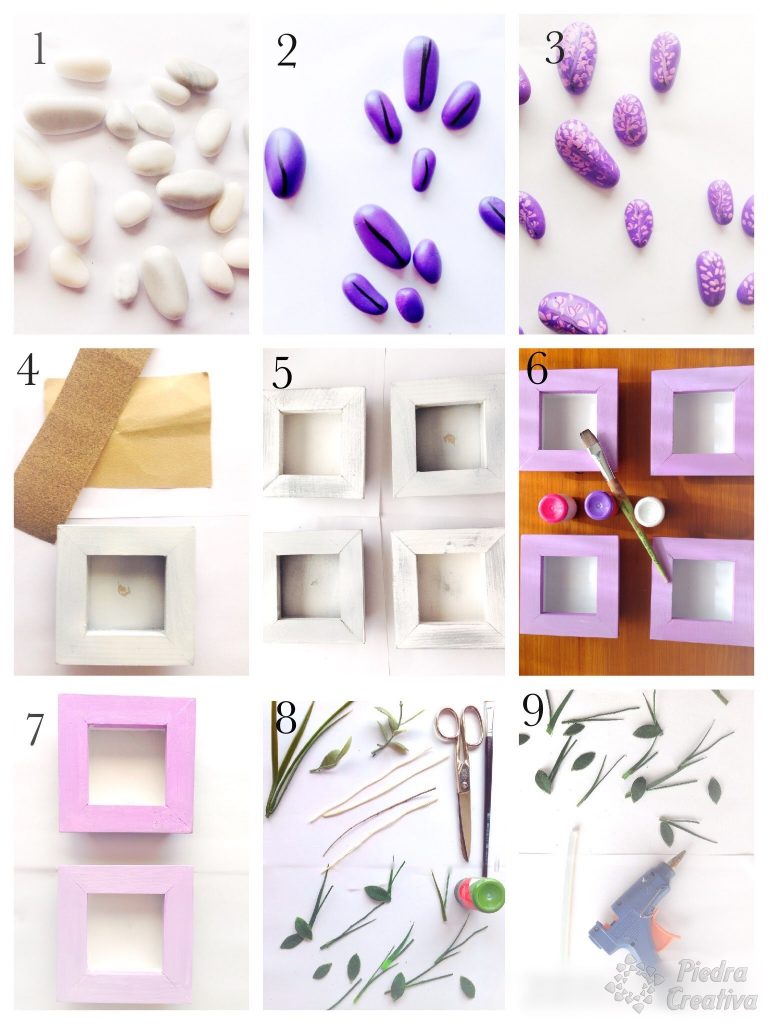
- Wash the stones and expect them to be well dried.
- Paint them purple (expect it to dry well between layer and layer).
- Mix the purple paint with pink and white. To finish make the details with the purple and green markers. You can make small details also with some white acrylic paint.
- Next, while you wait, sand the frames with different thickness of sandpaper (first use the thicker one).
- Clean the dirt with a damp cloth.
- Paint the lilac frames (you can use the same acrylic painting for crafts you used to make the petals, so it will be of the same tone).
- Give two paint hands.
- Trim the twigs and leaves to fit inside the pictures.
- Glue the branches with the leaves using the hot glue, paint them green before gluing them inside the pictures. When they are dry, make the details of the leaves with white acrylic paint, you can also use a marker white.
- Place them inside the pictures along with the painted stones and glue them inside the picture.
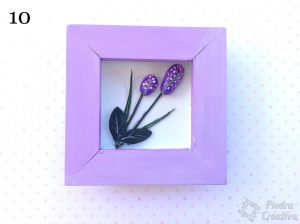
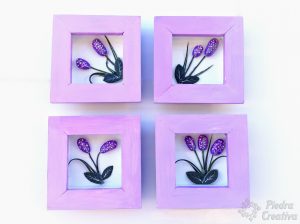
Do not forget to finish your fantastic DIY with 2 layers of varnish.
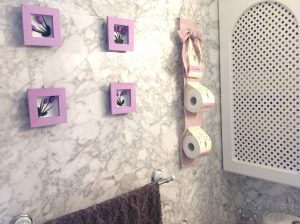
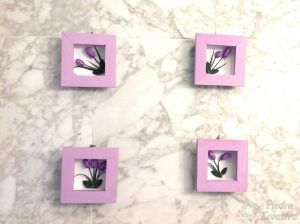
This is the final result in our bathroom. What do you think?
I love! ♥ We hope you liked it
Do not miss the next post of the basic tips on how to paint stones.
Remember that in the «Pictures» section you will find many more special DIY.
Do you like recycling? You can see special ideas in the beautiful blog beautyharmonylife
Enjoy creating with PiedraCreativa
[yasr_visitor_votes size="large"]




Añade tus comentarios