Monsters painted in stones at home by the children
In this post I show you these crafts that I have done with my precious children, the oldest of 11 years and the small of 5 years.
Since I’m always preparing some crafts, they ask me for some stone to paint it, especially the little one, the older one wants to help me upload it to the blog 😉
This is a good time to have fun with them and to feel happy with the family. We had a good time!
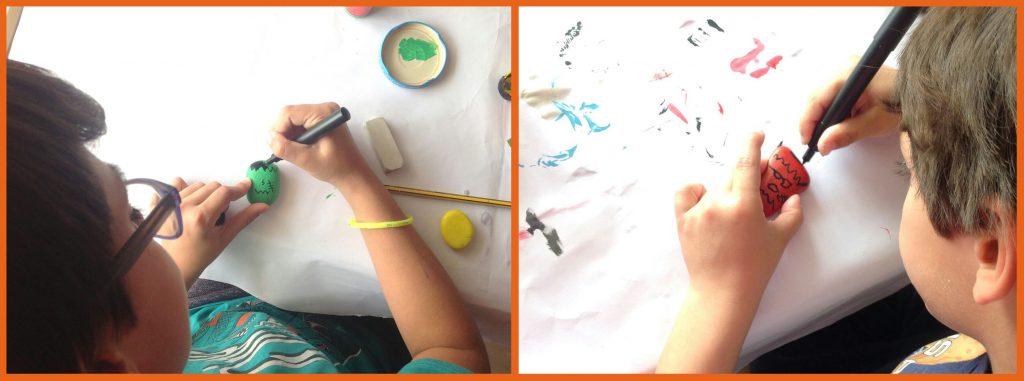
Crafts made by children are the best
These fun painted stone monsters are ideal for the stage where children are afraid. Usually those fears are produced by some major change in your life. It may be because they start school, or because they have to be with another stranger who is not a dad or a mom.
These crafts are a great reading of the emotions that will help us externalize them.
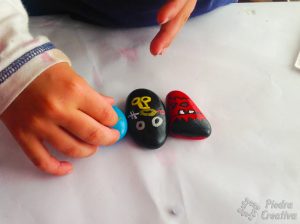
For this type of crafts with children we will use the following materials:pospo
- Round stones
- Acrylic paints
- Brushes
- Pencil and rubber
- Black, white, red, etc.
- Caps, plugs or plastic plates
- Container with water and paper
- Plastic or paper roll to cover the table
- Eyes with adhesive
- Colored pompon balls and glue
- Varnish or any glue or Decoupage type
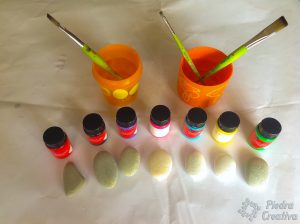
Step by step to paint monsters on the stones
First we dress the children with clothes that do not matter to stain.
We cover well the surface where we are going to perform the DIY.
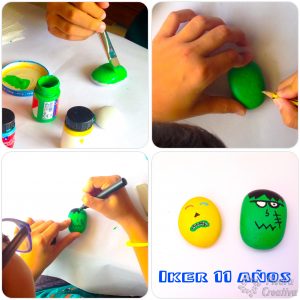
1. Wash the stones
Before starting to paint, wash the stones well to make the paint better.
2. Use acrylic paints
I recommend painting with acrylic paints, they cost a little more but they dry faster and give better result.
3. Use a bit paint
Use plastic lids or plates to put paint on. Kids love getting a lot of paint with the brushes, so they can spread it out and it will look better on them.
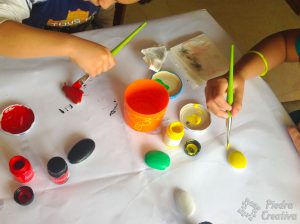
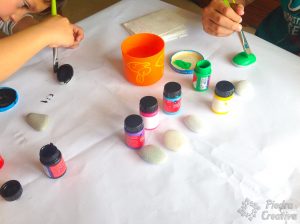
4. Wait until it is dry
If you opt for the acrylic paintings, you will see that while painting other stones the first one will be dry. Children do not like to wait and with these paintings they can continue to use the brush quickly.
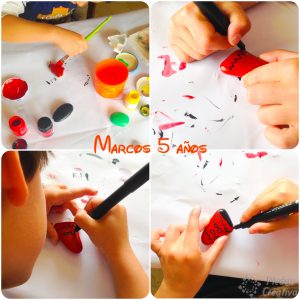
5. Draw with a pencil
Once the paint has dried, draw with the pencil. If children are young you can help by marking it to make it easier for them when using the marker. The ideal is to give them options to choose as they would like to be their monster characters, for example you can catch ideas by looking at some drawings on the internet to create your own stone monsters.
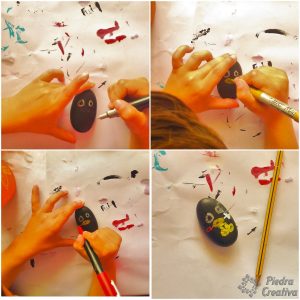
6. Use special markers to paint the stones
For these crafts it is best to use special marker for stone, ceramic, or permanent type, we like POSCA very much because they have many colors and different thicknesses but you can try with markers that you already have at home. If they paint on the stones they are also worth 🙂
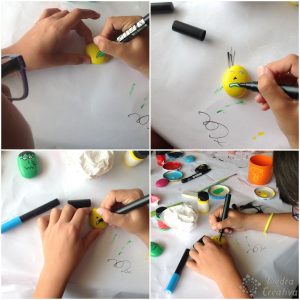
7. Acrylic varnish (optional)
Apply the acrylic varnish. If you do not have any, nothing happens, remember that the main objective is to have fun with your children.
8. The special details
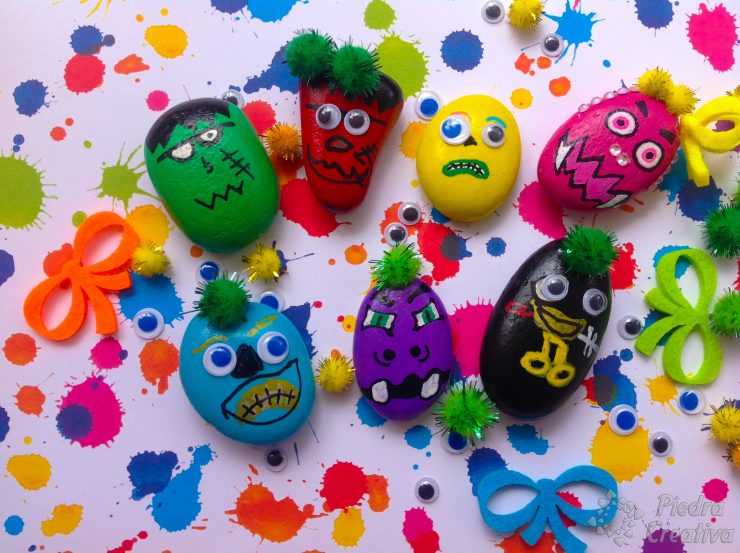
This part is preferred by children. Once you have put the varnish and dried, glue eyes, a bow, a wig … imagination and a lot of fun.
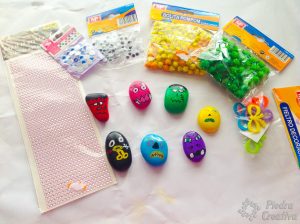
9. The final result of DIY
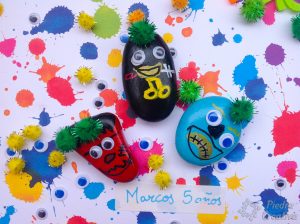
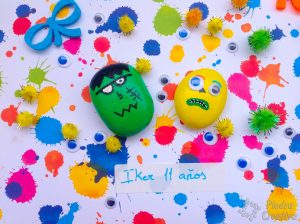
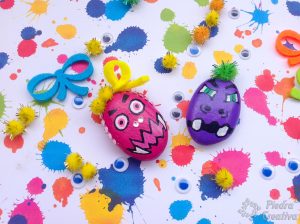
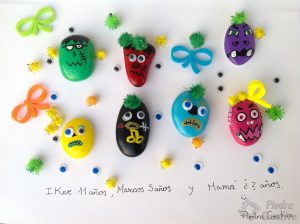
We hope you have enjoyed this simple DIY of painted stones and have a great time creating it.
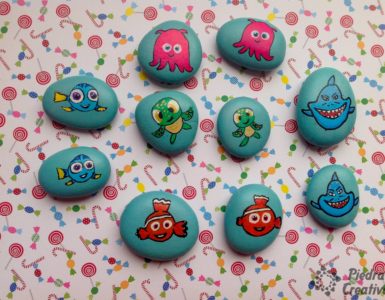
You can also see other DIY like Peppa Pig or Olaf. It’s very easy. You can also find other great ideas in the craft section for kids.
[yasr_visitor_votes size="large"]A huge kiss and enjoy painting with children in PiedraCreativa



Añade tus comentarios